Hey treasures,
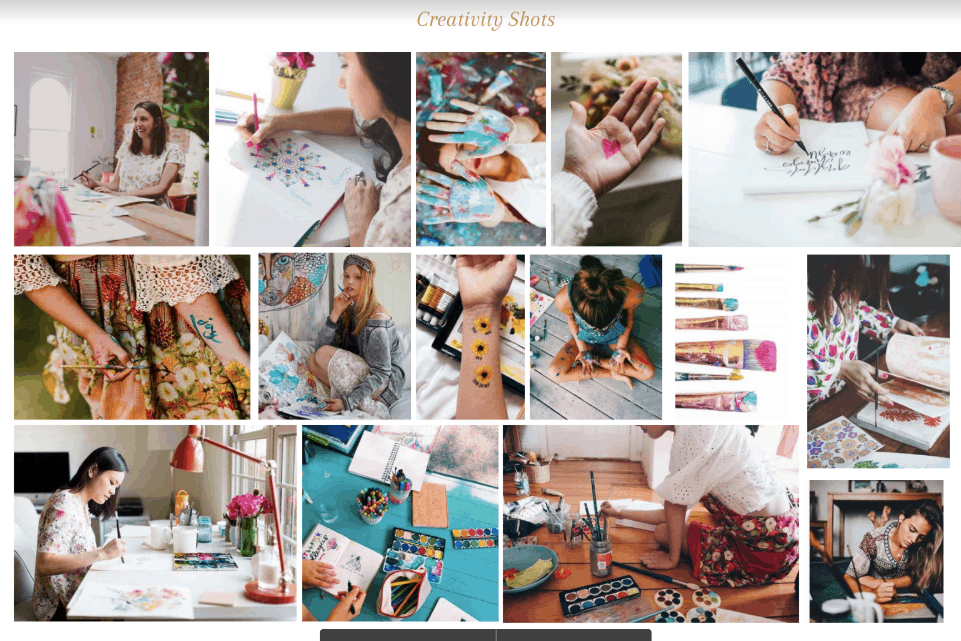
A few months ago I had an absolutely bonza photoshoot. You’ve probably seen some of the photos by now – and you’ll see even more emerge when my website redesign is finished.
You asked for it, so I thought it would be helpful to give you a behind the scenes tour of the photoshoot – how I organised it, who I used and all that malarkey. I hope it’s useful for you in organising your own!
Step 1: Decide what kind of photoshoot you need for your business
In my case, I needed one which was not just headshots – I wanted lifestyle ones I could use for my new website and new courses.
I’m working with Emma from Soul Stirring Branding for my rebrand, and as part of the package, she gives you direction on the kinds of photos she wants as well.
If you’re not working with a designer, instead create a Pinterest board of the kinds of photos you want and need to capture.
Here’s an example of some of the photoshoot guidelines she gave me:
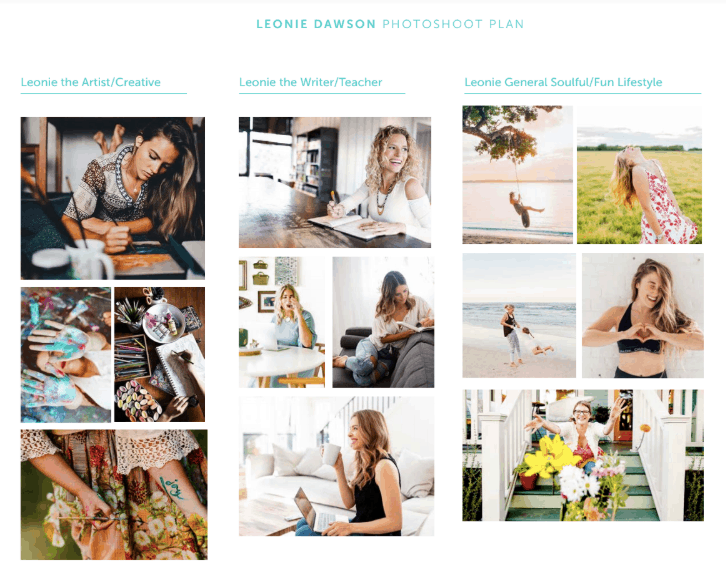
You can even just do quick sketches of the kinds of pictures, poses and props you want to capture.
Step 2: Choosing the Photographer
Luckily with this shoot, Emma already had a recommendation for who I should work with – Michelle from Eyes of Love photography.
The bonza thing about Michelle is that she is super comfortable working with online entrepreneurs, and knew that we’re wanting photos that work awesomely digitally, and walk a beautiful line between professional and lifestyle.
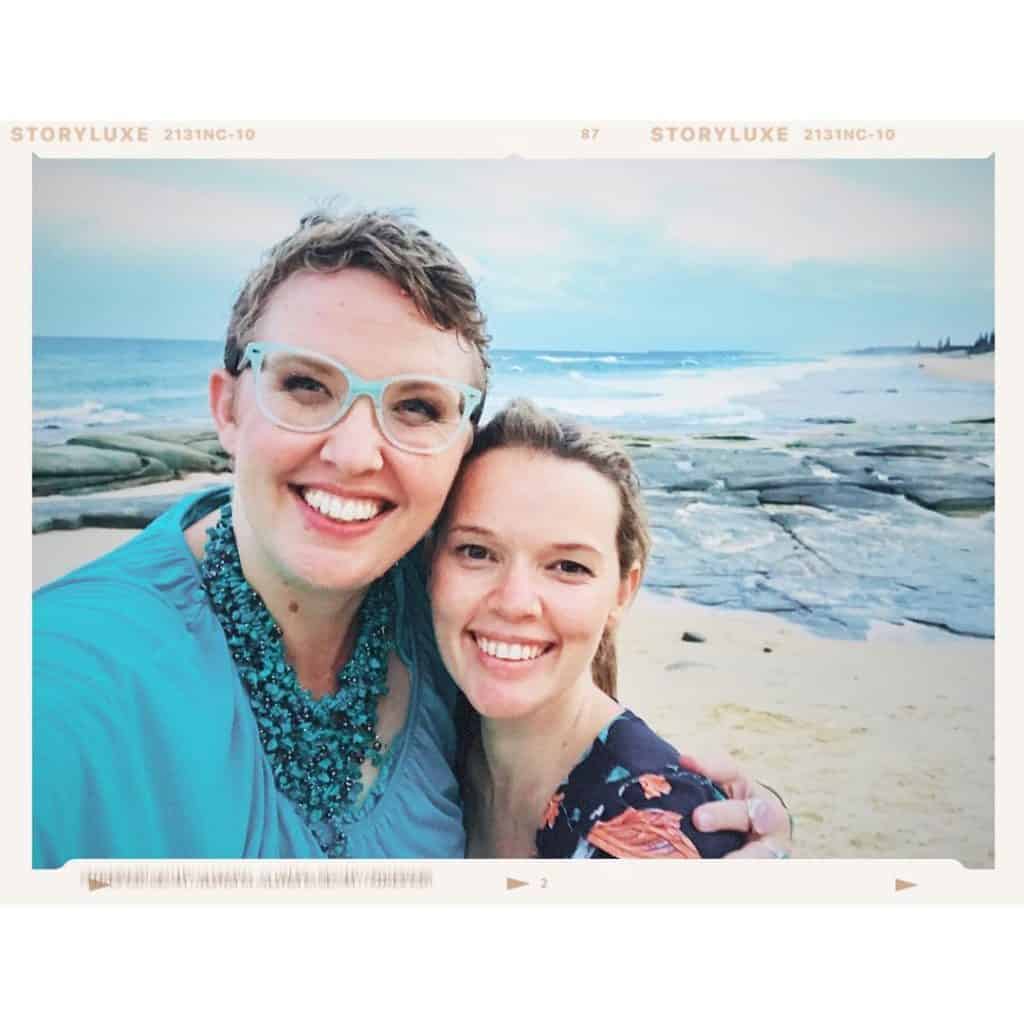
Me and the ADORABLE Michelle on location. (And YES! I’m on the taller side!)
If you don’t have a recommendation (and even if you do have recommendations!), do what I usually do: create a colour-coded spreadsheet with all my requirements on it. It’s even how I hire accountants!
I create a spreadsheet with all the specifications I require when hiring someone.
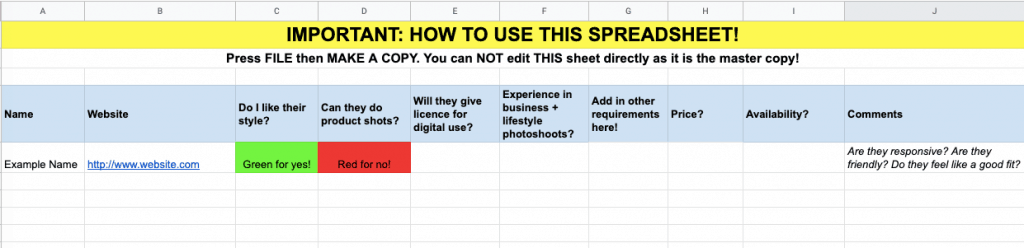
I figured I’d give you the template to use in finding your own perfect photographer fit… plus you can customise it for any professional you need to hire!
Grab your Super Simple Spreadsheet For Hiring Your Dream Photographer!
Just pop your email in below so I can send it your way with love <3
Then fill it out and colour code it until you have your clear winner!
Step 3: Choosing locations
I originally thought I would just get photos done at my home and local cafe until I realised: that’s a SHIT TONNE of work to get it clean and organised. Plus with a cafe, I wouldn’t be able to control the space or lighting or noise as much as we would need. (If you do decide to use a cafe, make sure you have permission from the owner too!)
Instead, I decided to hire an AirBNB.
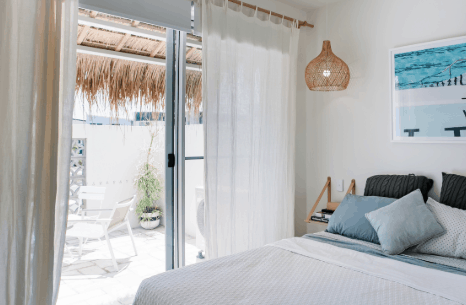
I hunted around to look for something light and bright. Photoshoots require as much natural light as possible! I looked back at the kinds of shots I wanted and knew I’d need something with a desk or table area for “working on computer” type shots; a lounge for “cosy and casual” photos; a bedroom with big windows for “creating in bed” photos”.
I also knew for branding I wanted something with as much white as possible (for brightness) and bonus points if it had anything turquoise as a feature. Even if you’re not an all-white lover, it’s super easy to dress a space with colourful props. The all-white helps with the light in shoots.
Another important piece to consider: it can get HOT doing photoshoots. We made sure we had a place with airconditioning. Holy crapper did we need it that day so I didn’t turn into a sweaty armpit.
I also asked both Emma (designer) and Michelle (photographer) for recommendations incase they already had places they liked working in.
Using the spreadsheet technique (like above), we ended up finding an awesome joint:
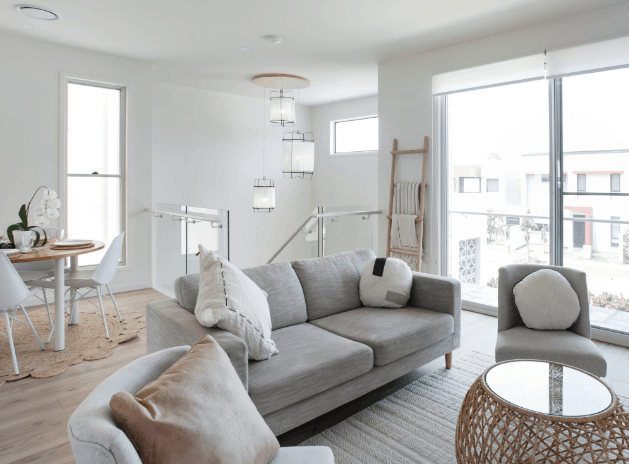
Natural lighting: Tick!
White + neutral furnishings: Tick!
Bed with big windows: Tick!
Airconditioned: Tick!
But here was the one feature that made us say HEYHOFUCKYEAHHHH:
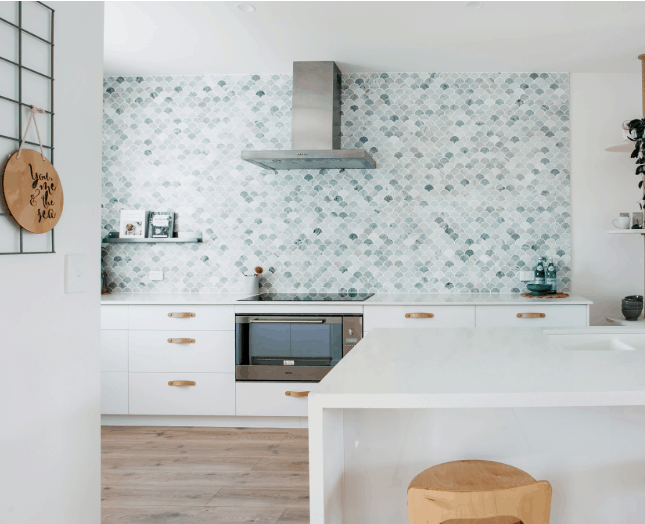
Mmmmmm… mermaid turquoise tiles feature wall! YESSSSS PLSSSSSSSS
Tip: if you contact an AirBNB owner and tell them you are just using it for a photoshoot and NOT the night, so no linen cleaning or other heavy cleaning needs to take place, they will often give you a discount!
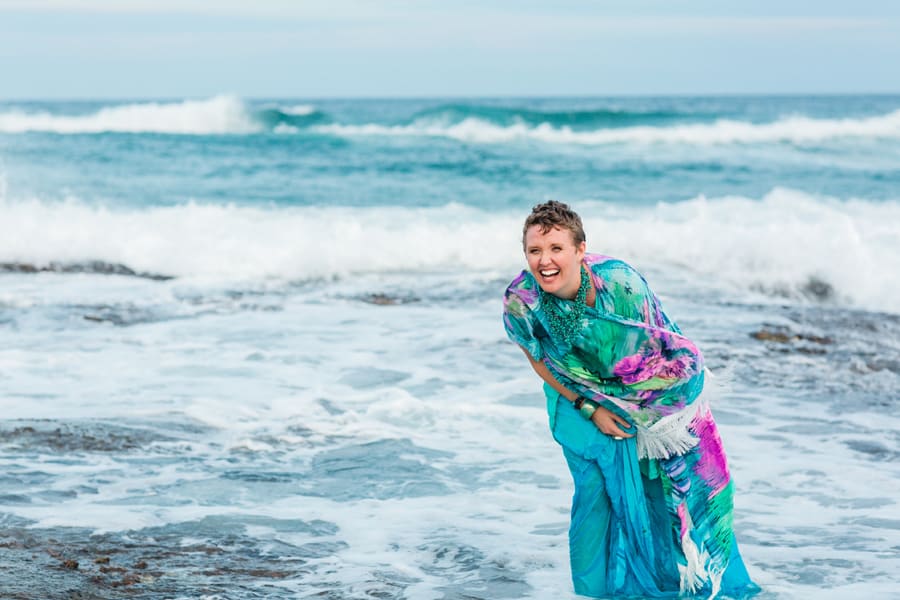
The ocean is also muchos important to me, so we decided to do AirBNB first, then head to the beach for sunset photos.
Step 4: Choosing props
I had the Pinterest board sorted of what kinds of photos I wanted to take.
Next was creating the spreadsheet (LEONIE LOOOOOVES SPREADSHEETS) for the props I’d need to take that day to truly LEONIE up the space.
It included things I had around the house and things I needed to buy, including:
- artworks
- blankets (great for colouring a space)
- cushions (another good colour-bringer!)
- crystals
- journals and pens
- my laptop
- plants
- bouquets of flowers
- flags and bunting
- baskets
- rugs
- statues and knick knacks.
For me, my desired photoshoot look was NOT minimal. I love cosy, creative clutter and I wanted that reflected in my props. So I made sure I had a LOT to choose from.
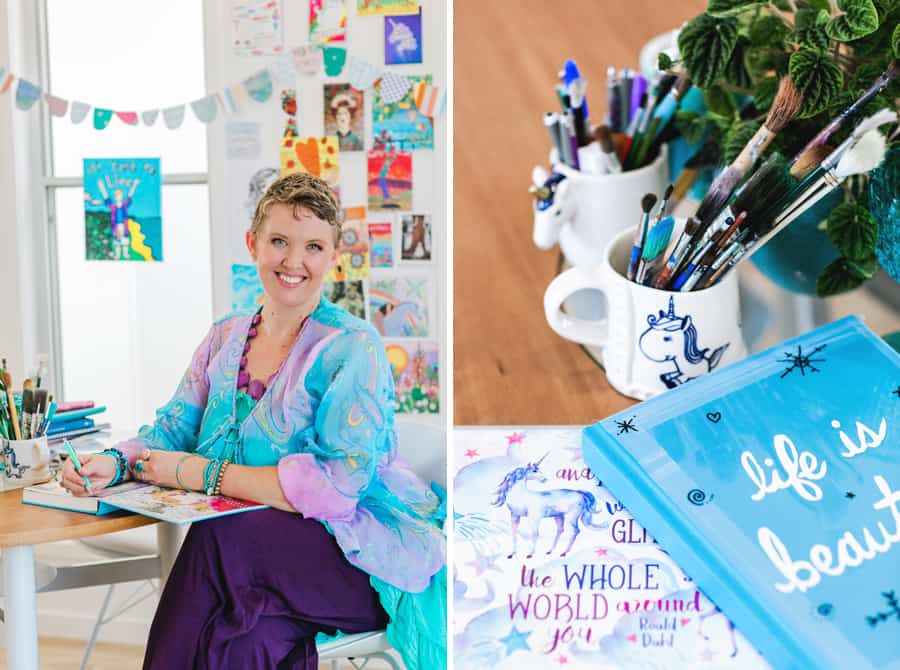
Some of the props above: Bunting made be me from scrapbook paper. Artwork and prints behind me from my office wall – includes art and photography by me, Lori Portka, Julie Turner and Trish McNeill. Unicorn cup handmade by Ashley Fiona. Laptop cover from Society6.
Colours: the most important part that made all the props work together as a theme was choosing a colour palette. I made sure 90% of what I brought with me was my branding colours of turquoise with dashes of purple and pink.
I mostly used props I had around my house, but I did buy some goodies from Typo and Pillowtalk where there was a hole.
Step 5: Choosing clothes
Again, I stuck with my colours of turquoise with splashes of purple and pink.
I wrote a big post here about where I buy my hippy clothes from.
It’s a lot of flowing yoga pants and long skirts and flowing tops and tunics. Some of them are hand-me-downs from friends, some I found at the op shop, some I’ve actually bought (WOAH!)
Mostly, I go for comfort, colour and flow. It’s also super useful to have clothes you can mix and match in a few ways.
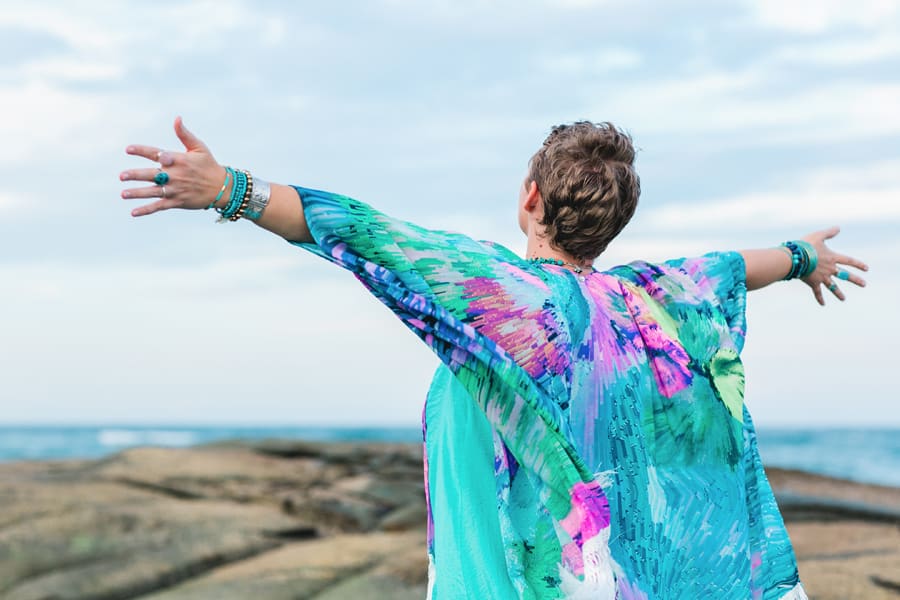
Outfit sources: skirt a hand-me-down that one of my women’s circle sisters gave me 12 years ago or so (!) Gorgeous turquoise necklace a gift from Hiro Boga. Top/cape thing bought on sale at a cute boutique in Mogo, NSW.
I took about 15 different outfits and thought that was overkill, but honestly, I needed them all.
I also have a few handfuls of costume jewellery that I buy at those cheap shopping centre jewellery stores (like Lovisa). I’ve had them for years to use for special occasions and photoshoots, and they still work brilliantly.
What should YOU wear for your photoshoots?
Whatever makes you feel like YOU.
Step 6: Choosing hair + makeup
Again: recommendations. I ask everyone under the sun who they usually work with before I even consider googling. I ended up using Valentina Pintus for hair and makeup as she had already worked with Michelle the photographer. I wanted to make sure I had someone who specialised in natural looking makeup, and Valentina was a legend. I also find it helpful to have hair and makeup come in one person – it’s one less thing to organise!
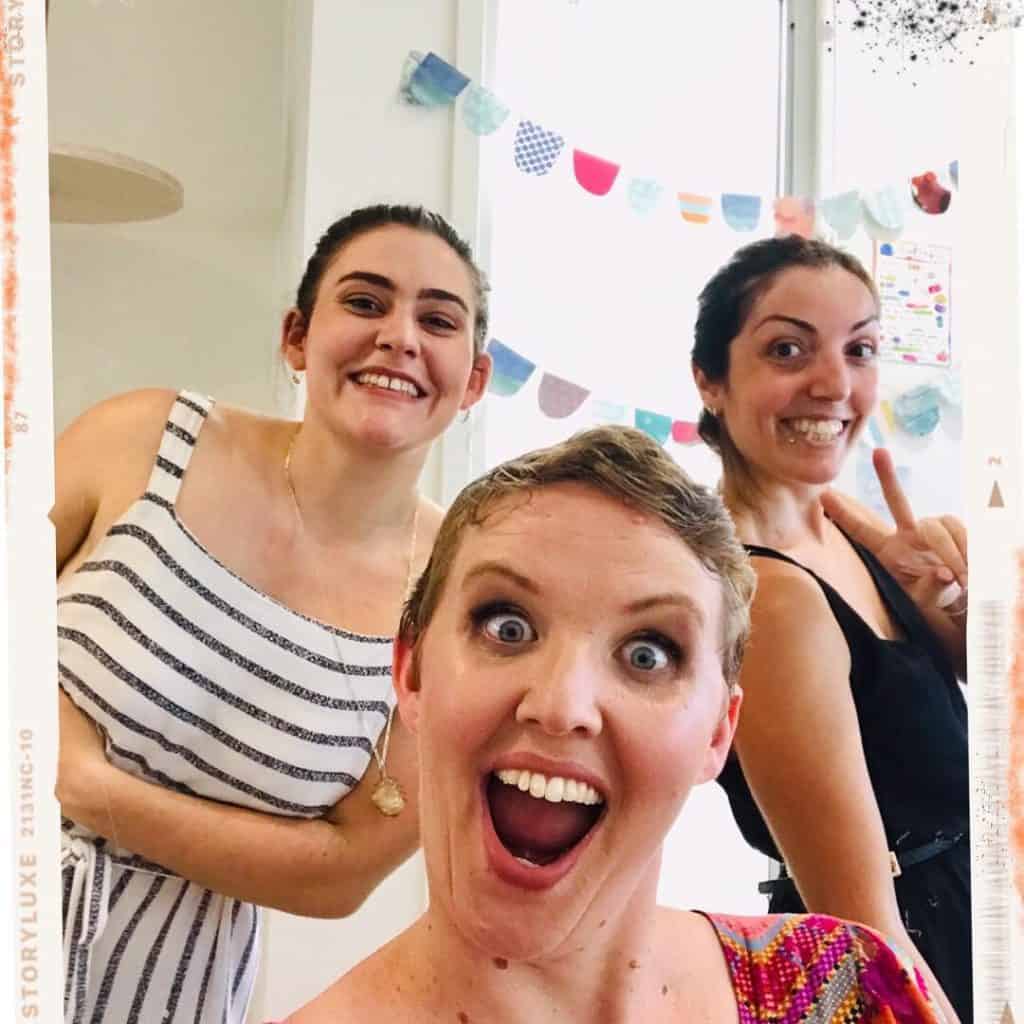
Makeup artist Valentina on the right! Assistant + set designer Ellie Oster on the left!
Step 7: Hire assistant!
By far, the best thing I’ve learned from doing a dozen or so photoshoots and videoshoot days is: have a personal assistant for the day.
I can deal without an assistant perfectly well any other day of the week. But I know on days when I’m the face, I need someone to get me food, drink and set up scenes and organise props. Otherwise I’m running around with my head chopped off doing ALL THE THINGS!
I usually just go for a gut instinct on who to hire as an assistant. This time, I hired someone I’ll definitely hire again – the magical fairy Ellie Oster. We met in a serendipitous way – I was doing a school tour for a possible school for my kids, and she was working there. She recognised me but didn’t say anything, and instead messaged me on Instagram that day and we became mates that way!
Ellie is a vivacious, smart unschooled chick with a background in theatre. If you’re looking for an assistant and set designer, theatre people are BONZA – they are so used to thinking about how sets look visually!
Step 8: Build Schedule
Me & Michelle worked on a schedule for the day. Most photographers prefer to work outdoors at “golden hour” (i.e. sunset) to get the best lighting. We worked backwards from there to work out timing for the rest of the day.
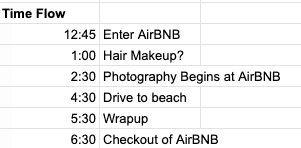
How The Day Worked
I got Assistant Ellie to run errands the morning of the photoshoot:
- got flowers in my brand colours (blues! purples! pinks!)
- made up catering platters of food for everyone to nom on… because FOOD IS LIIIIIFE
- grabbed me my favourite smoothie
- get to the AirBNB first and get set up.
Anything I could do to reduce my tasks for the day, basically!
I loaded up my van with props, pillows, blankets and artworks. It was absolutely PACKED to the brim. I also had my Stash of Liquids: about 4 litres of sparkling water and kombucha. I drink a LOT on days like this.
I also printed the photoshoot guide with the shots and looks I wanted to go for.
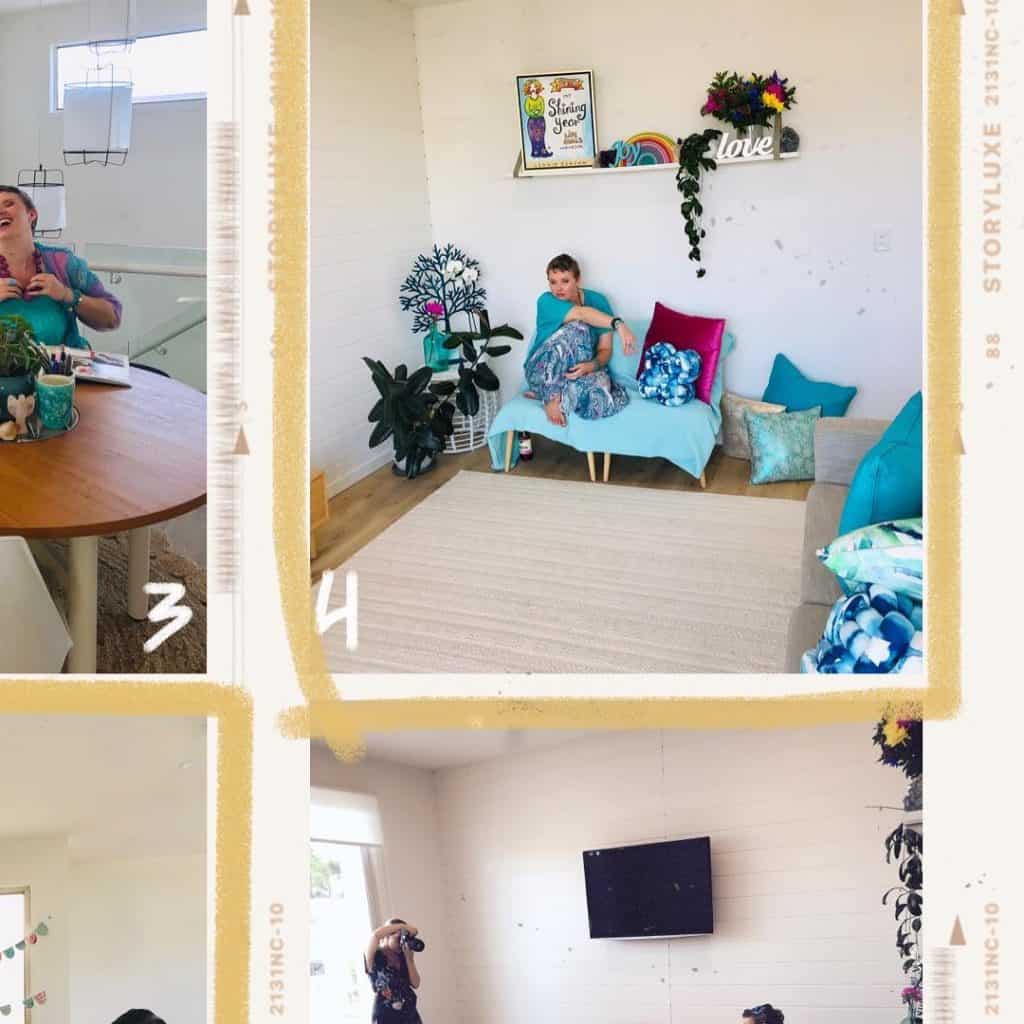
Once I got there, I showed Ellie the photoshoot guide, and we talked about where and how to set up scenes to do photos in. I basically instructed her to recreate my studio and home and “Leonie the SHIT outta the place!”
She got to work unpacking the van and setting up the scenes. I got to work drinking my smoothie and getting my makeups and hairs did by Valentina.
Photographer Michelle + her second shooter (her magnificent husband Jacko) arrived and after hugging and talking shit for a few minutes, we dived right into photos.

We moved from one scene to the next, ticking off the photoshoot list and changing clothes between them. Ellie set up the next scenes, and tidying up old scenes behind them.
Michelle wrote the fucking loveliest blog post about what it was like doing my photoshoot. We laughed and laughed alllllll day.
How to be confident in photoshoots
Michelle said something really lovely on the day of the shoot:
Leonie, you’re the most comfortable person in your own skin that I’ve ever photographed. Usually people are a lot more nervous about being photographed, but you really enjoy being photographed. It makes my job super easy.
Which is great to hear – but also not great to hear. I don’t want other people to suffer during photoshoots! I want them to experience the joy of loving themselves uppppp, letting their soul shine, and letting that be captured on camera! I want them to be a MOTHERFUCKING ZEBRA!
So here’s my advice:
Don’t think about YOU when you’re getting photographed. Think about the people you love. The people you serve. The people you help with your business. And think how you would look at them. You’d look at them with eyes of love, right? (It’s how I knew Michelle was the right person for me as well – she calls her business Eyes of Love.)
So when I’m having a photograph taken, I think about all the love I have for YOU all. The love I have for this incredible job. The love I feel for humanity. And I let that pour out my face.
“If you have good thoughts they will shine out of your face like sunbeams and you will always look lovely.”
Roald Dahl
The Rest of the Day…
Once we finished photographs inside the AirBNB, me, Michelle and Jacko took off for the beach while Ellie stayed behind to continue cleaning up, repacking the van and getting the AirBNB returned to its original state.
Michelle and me were both amazed at what a difference it made to have Ellie as assistant and set designer with us – we managed to get in a LOT more scenes because of her! And I was delighted at how much she made the space look like “me.”
Once we were finished, it was officially dark. I picked up my van, drove through McDonalds to get my standard Post-Shoot order: a giant soda water to rehydrate. Then headed back home to curl up under a weighted blanket for the night.
It was a gloriously fun day. I love doing shoots like this.
And of course, they also come at an energetic cost. So I took the rest of the week easy, and had more couch time and quiet time to compensate.
You’ll see more of the photos once the website redesign is done… but I’m absolutely thrilled. And am looking forward to doing another one with Michelle and the rest of the crew. We’ll be a super well oiled machine!
I so hope this has been a useful resource for you on how a photoshoot like this works behind the scenes.
Just remember:
- Everything can be solved with a colour-coded spreadsheet
- Catering is critical
- Stop thinking about you and how you look, and start thinking about the people you adore instead.
Big love,